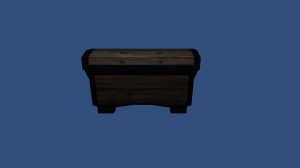
This is a blog post that will showcase my final object for assignment one in the 3D Computer Graphics course that I’m taking. My object is a medieval themed chest and I have created a diffuse texture and both a specular and normal map to enhance the details in the texture.
The diffuse map is the most frequently used texture mapping method. It wraps the bitmap image onto the 3D geometry surface while displaying its original pixel color. Any bitmap image, such as scanned images or images captured by digital camera, can be used as diffuse map to represent photo realistic quality.
In 3D computer graphics, normal mapping is a technique used for faking the lighting of bumps and dents. It is used to add details without using more polygons. A common use of this technique is to greatly enhance the appearance and details of a low polygon model by generating a normal map from a high polygon model or height map. A normal map is made from a high polygon model. Its color representation will affect surfaces like a regular bump map while providing higher degrees of detail.
When creating a normal map it’s important to know the direction that each point on the surface is facing. The direction that a point on the surface is facing is called a normal.
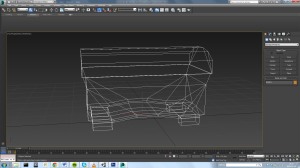
In my models case all the small details like the nails and the indentation in the wood on the chest are details that I chose to visualize using a normal map. There are off course things that can’t be highlighted using normal maps, such as the some of the larger details like the legs or basically anything that involves the silhouette of the object.
Specular maps are the maps you use to define a surface’s shininess and highlight color. The higher the value of a pixel (from black to white), the shinier the surface will appear in-game. The color of a pixel is also used, to calculate the resulting color of the surface. A very saturated specular map will have a very different visual effect than a grey specular map. If you need a more ”neutral” highlight on a surface, your specular map should use the inverse of the diffuse map’s color. Using the same color on the specular as on the diffuse will result in a more saturated highlight when viewed in the game. When creating a specular map it’s important to consider the material you are working with, surfaces such as dry stone or cotton fabric would tend to have a very dark specular map, while surfaces like polished chrome or plastic would tend to have lighter specular maps.
Since you can use contrasts in specular to make a surface appear more visually interesting in the game I would say it is one of the more important types of maps that you can use.
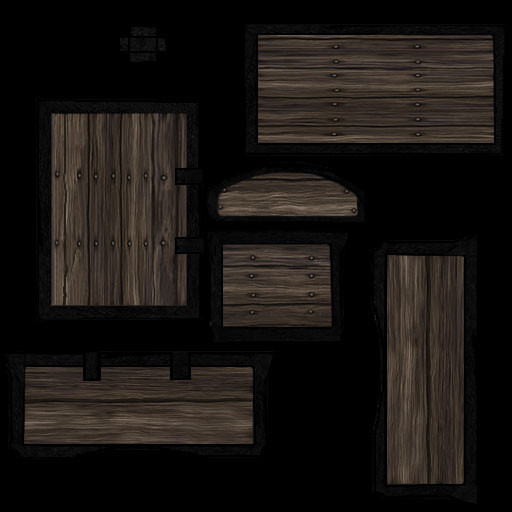


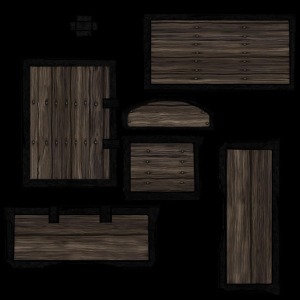
Above is all my maps in their ”Photoshop form”
First is the diffuse texture. The second one is the normal map, and the third and last is the specular map.

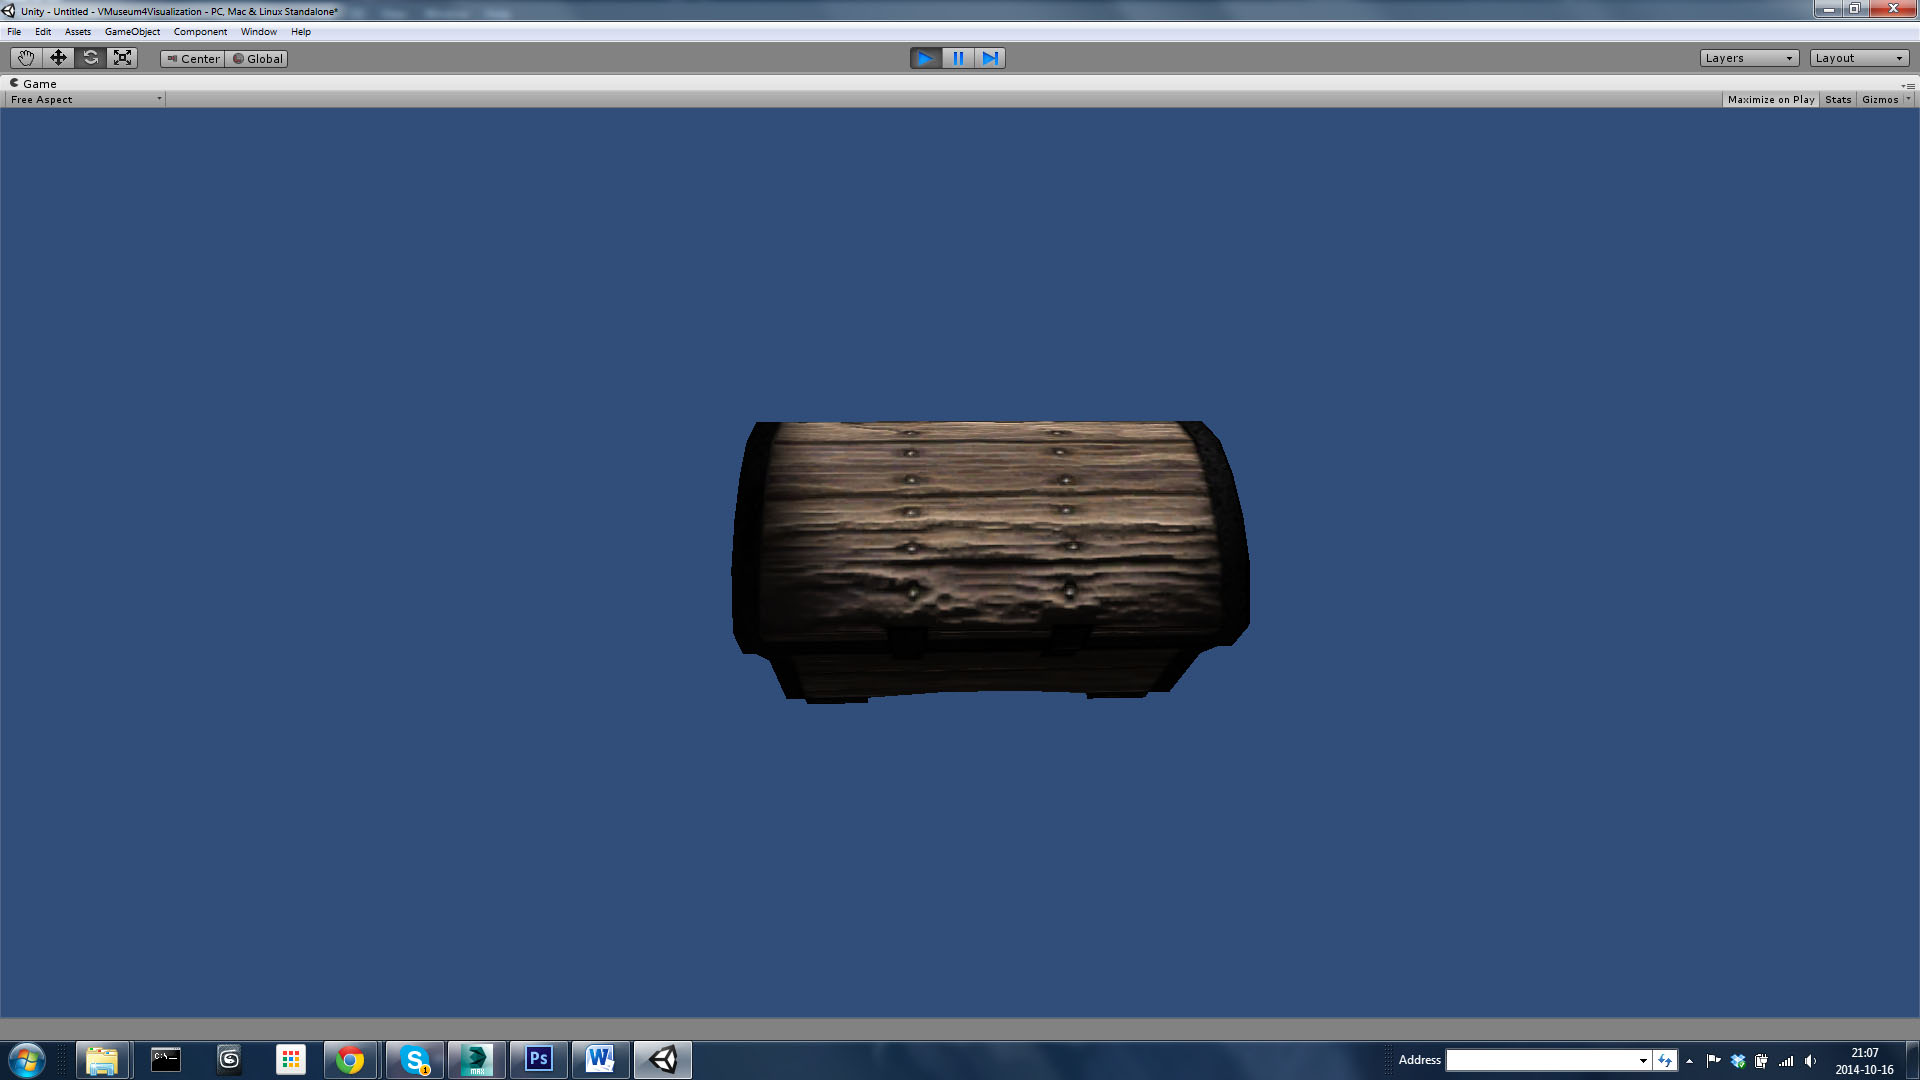
Above is a few screenshots of my chest in it’s final form with a diffuse texture and also a specular and normal map applied to it.